
Author: Immanuel Raj
-
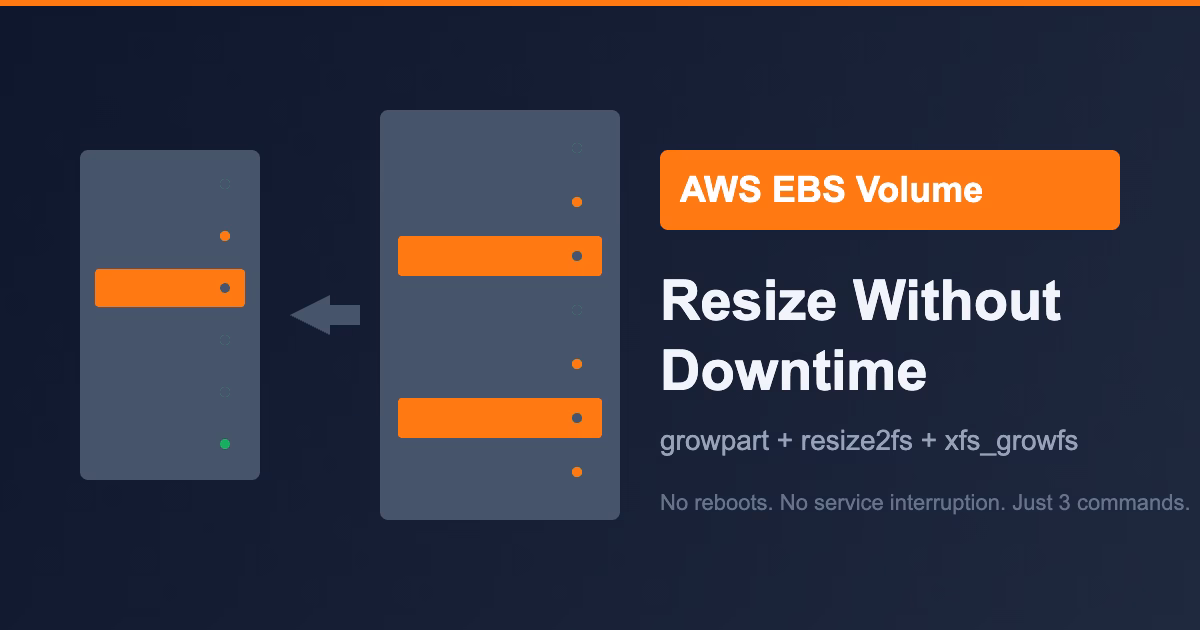
How to Resize an AWS EBS Volume Without Downtime
A step-by-step guide to expanding AWS EBS volumes on a live EC2 instance — no downtime, no reboots, just three clean commands.
-

How I Audited 41 Ubuntu Servers for CVE-2026-31431 “Copy Fail” — and What I Found
CVE-2026-31431 “Copy Fail” is a HIGH severity Linux kernel vulnerability that lets any local user gain root. I audited all 41 of my Ubuntu servers, found one actively exposed, applied the mitigation, and checked for compromise. Here’s the full technical breakdown.
-

How Google Photos AI Uses Computer Vision to Search Your Images
Have you ever noticed that you can search for “beach” in Google Photos, even if you’ve never tagged a single picture? It’s not magic; it’s advanced computer vision. Learn how Google uses convolutional neural networks (CNNs) and cloud computing to automatically categorize your memories, and the engineering trade-offs that make it all possible.
-

The Ultimate Guide to Globalping: Test Your Website from Anywhere
Imagine this: Your website loads perfectly on your computer, but a user in Japan emails you to say it is completely down. How do you figure out what is wrong without actually traveling to Japan? This is where Globalping comes to the rescue. In this post, we will look at what Globalping is, its best…
-
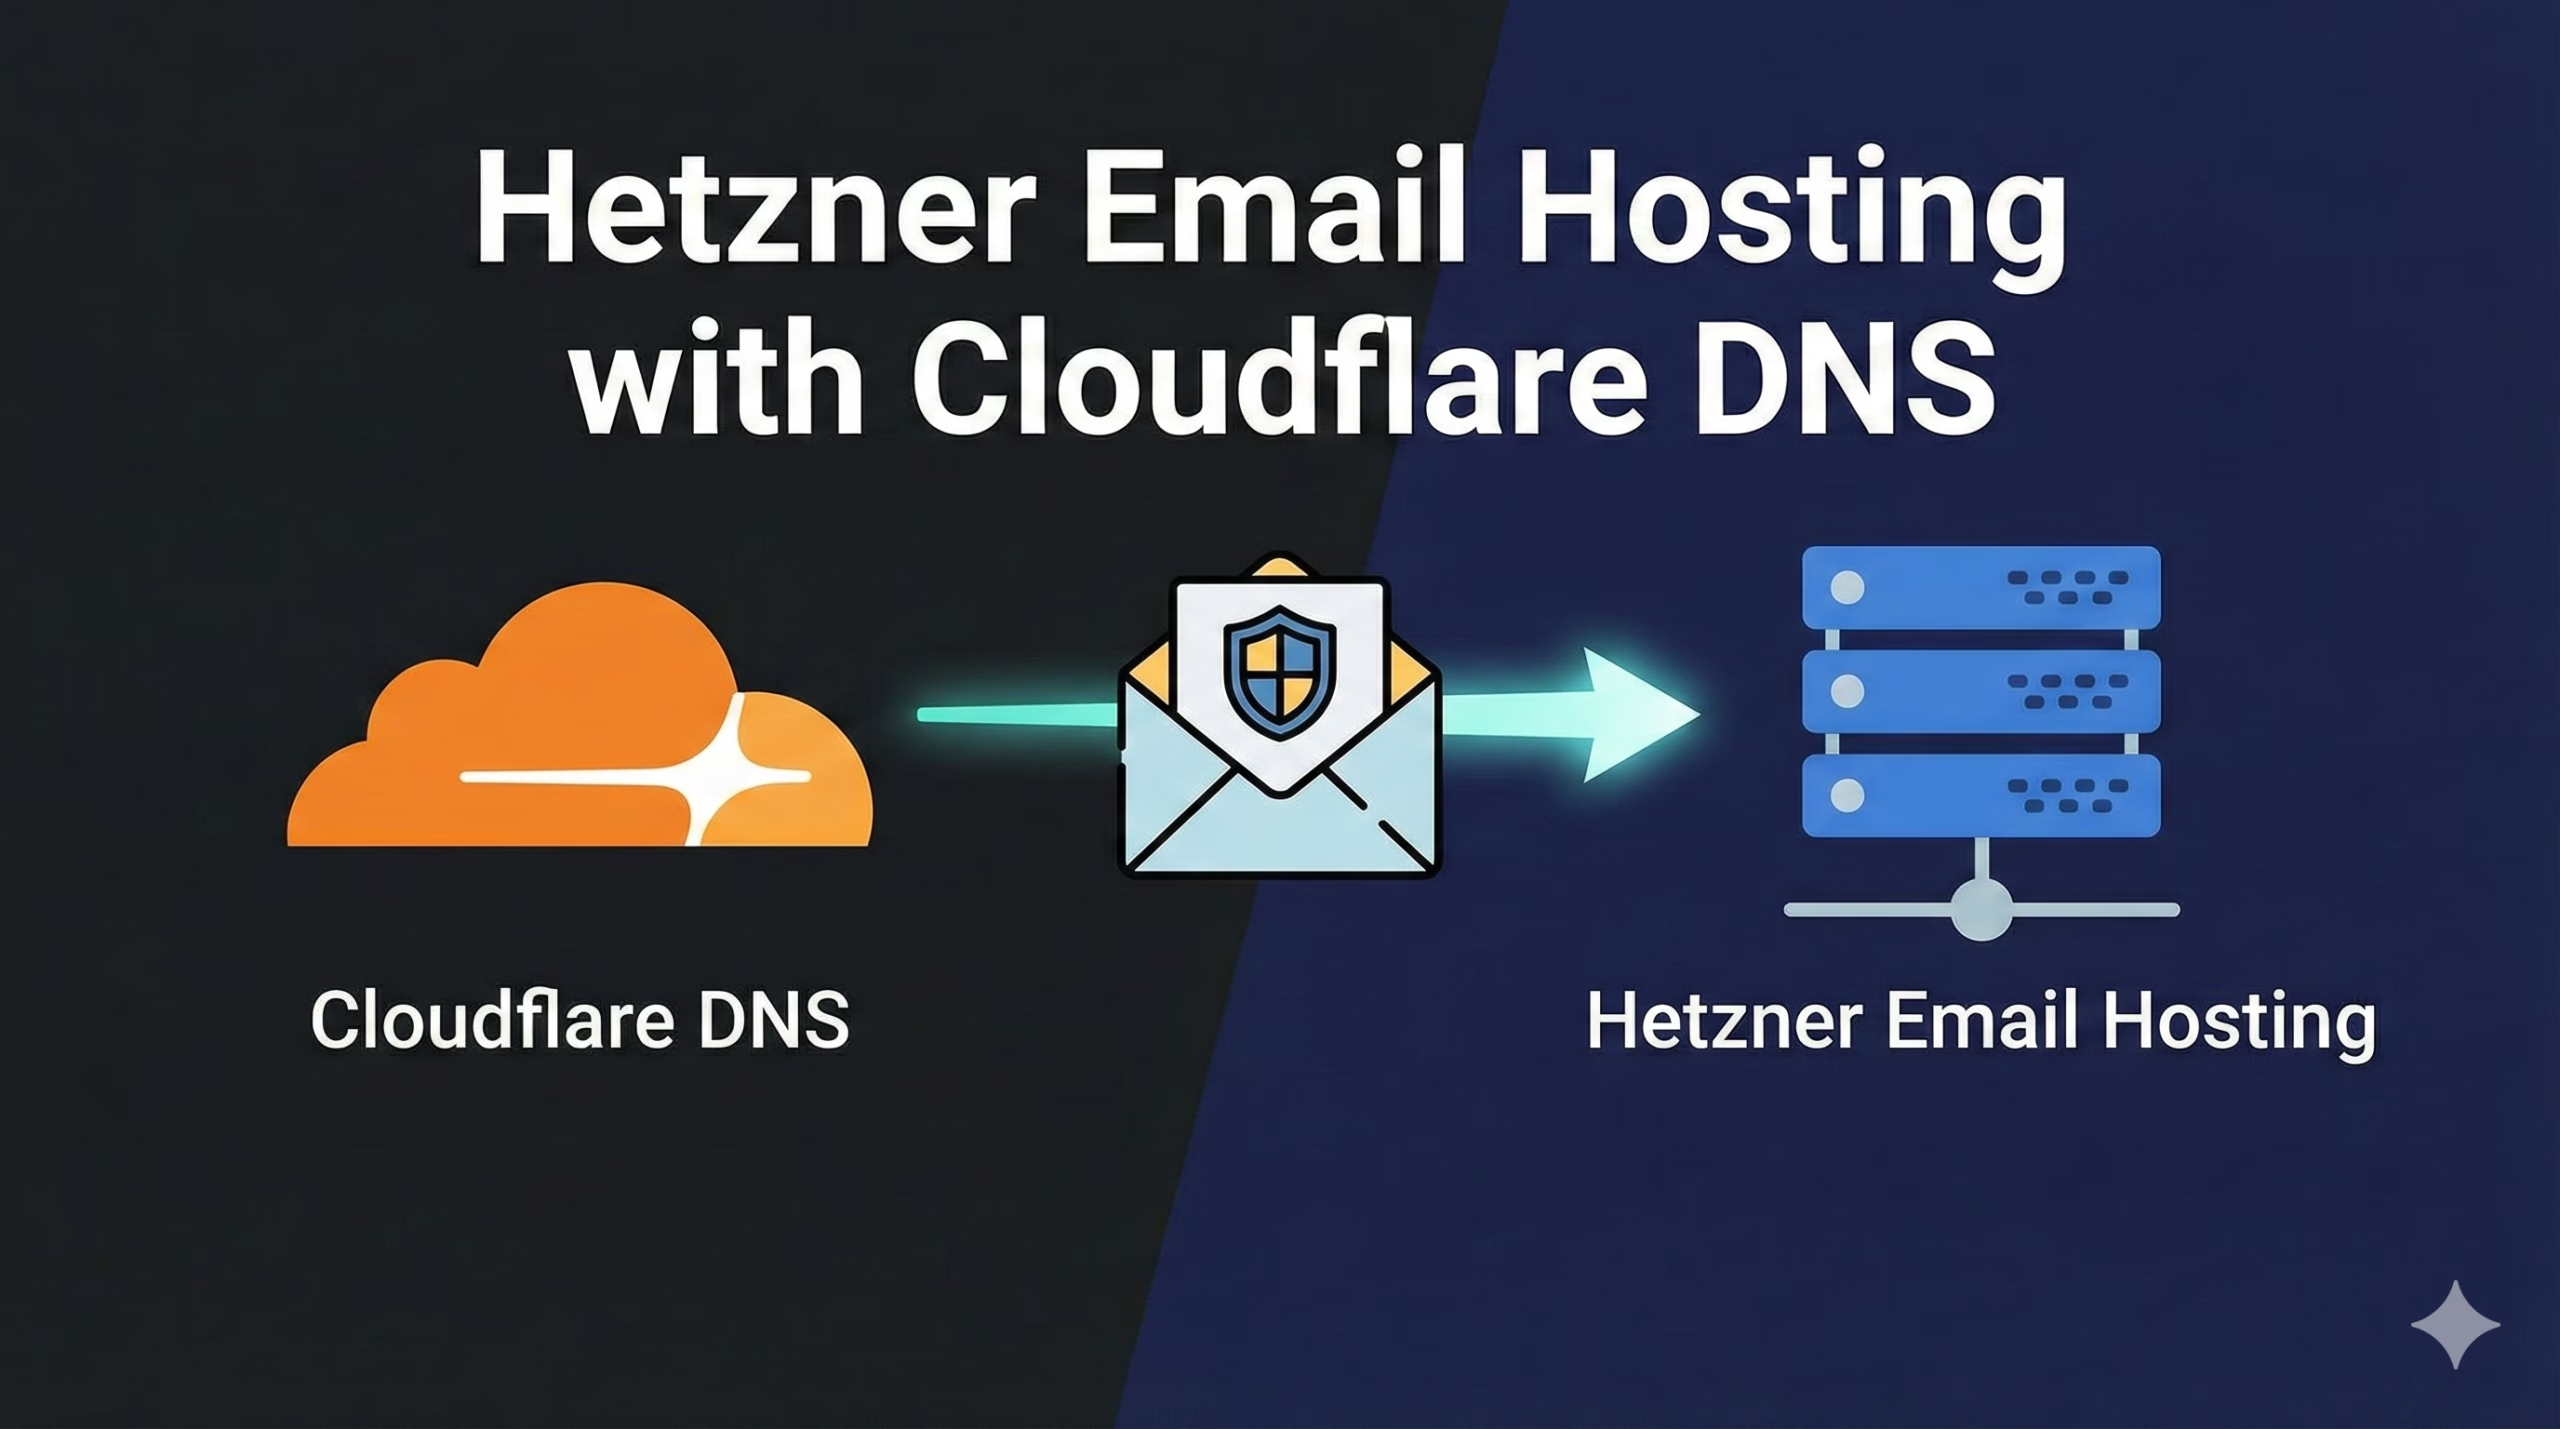
Hetzner Email, Cloudflare DNS: The Ultimate Setup Guide
Stop relying on Hetzner’s default DNS! This ultimate guide shows you step-by-step how to successfully configure your Hetzner email hosting by adding all the necessary MX, SRV, SPF, DKIM, and DMARC records to an external DNS provider like Cloudflare. Ensure perfect email delivery and client autoconfiguration today.
-

Migrating from Frappe v15 to Frappe v16 — A Complete, In‑Place Upgrade Guide
Ready to try the new Frappe v16 Beta? This guide covers the complete in-place migration process from v15, including upgrading to Python 3.12, handling breaking changes, and installing the new mandatory Offsite Backups app.
-
Object Cache | Page Cache | OP Cache – Caching for WordPress
Master WordPress performance with comprehensive caching strategies. Learn OPcache, Object Caching, and Page Caching implementation for lightning-fast websites, reduced server load, and optimal user experience.
-

How to Add Floating IP to Ubuntu and Debian Servers with Netplan
Learn how to configure floating IP addresses on Ubuntu and Debian servers using Netplan for high availability and seamless failover. This comprehensive guide covers YAML configuration, troubleshooting, security best practices, and automation scripts for production environments.
-

Complete Frappe Security Guide: Block Administrator Installation & Configuration
Comprehensive guide to securing Frappe Framework installations with Block Administrator. Learn enterprise-grade installation procedures, technical architecture, security benefits, and troubleshooting for protecting administrator accounts from unauthorized access and brute-force attacks.
-
Customize Frappe Reset Password Email Template
Learn how to customize and replace the default reset password email template in Frappe framework. Step-by-step guide with enhanced HTML template, modern typography using Reddit Sans and Poppins fonts, responsive design, and implementation instructions. Only uses {{link}} parameter as supported by Frappe.
-

Why Do We Need God? Understanding Christian Faith and Purpose
Why do we need God? What is our purpose after coming to Him? When should we start fulfilling His calling? This blog explores these essential questions through the Bible, helping us understand Christian faith, discover God’s purpose for our lives, and trust His perfect timing. Whether you’re seeking guidance, strengthening your faith, or wondering when…
-

Automating Flask Deployment Using Docker and Github Actions
I’ve had enough of tedious deployments, so I decided to become proficient in automating the process. While I’ve previously used GitHub Actions to streamline deployments, I had yet to do so in a Flask environment. In this article, I’ll outline the steps I followed to deploy my Flask backend using Docker and GitHub Actions, specifically…
-

Retrofitting Node 20 in Ubuntu 18 LTS
One of the hardest parts of system administration is keeping systems updated and secure. However, when an upgrade is not feasible but application support is needed, there’s often no choice but to retrofit the necessary dependencies. This may involve tinkering with the system, patching, or using custom configurations to ensure the application works without breaking…
-
Fail2Ban – SSH, WordPress[ee] and Cloudflare
Fail2ban is an open-source intrusion prevention software framework that aims to protect computer servers from brute-force attacks. It works by continuously monitoring various log files for patterns indicating failed login attempts or other suspicious activity. When it detects such patterns, it can take action by dynamically updating firewall rules to block the source of the…
-
Cloudflare Header Tips
I am pretty sure any developer would have known about cloudflare. Be it for Hosting, Ai, Storage, Mail, Security, Infra, Tunnels, DNS etc. When you are a guy who uses free stuff to get things done for you, you cannot pay for things that you want, but also cannot stop from getting good things. Not…
-
Demystifying MySQL’s UTF8MB4: A Guide to Character Encoding in Databases with WordPress in GCP and Cloud SQL
UTF8MB4 Introduced in MySQL version 5.5.3, is an extension of the UTF-8 character encoding scheme. While UTF-8 can encode 1.1 million characters, UTF8MB4 can encode the full range of Unicode characters, including emojis and characters outside the Basic Multilingual Plane (BMP). In MySQL utf8 is currently an alias for utf8mb3 which is deprecated and will be removed in a future MySQL release. At that…
-
Piping Bash
Bash is good, ZSH is also good….but the fact that they both do not allow piping is bad. Well technically they do work, but it works in a different way. Sometimes its okay for us, rest times it is not. So what’s the issue here… Say you have a code in your bash script like…
-
Pa11y and Pa11y-CI Accessibility testing
Accessibility is a really important thing when it comes to making a good site and make it available for all to use the site and for crawlers to make things easy as well. Automating this and making the best of the site to keep going faster without worry about accessibility and let the bot do…
-
Rootless docker
References ASSUMPTIONS Docker Root Installation Pre-Requisites Docker Installation Installing docker compose It all works 🎉 ! But here are some common problems Network slow For this you can refer to https://docs.docker.com/engine/security/rootless/#network-is-slow Using privileged ports aka <1024
-
Github Rate limits
Rate limits are sometimes scary. Sometimes its temporary, some time it goes away soon…some time it takes like foreverrrrrrrrrrrrrrrrrrrrrrrrrrrrrrrrrrrrrr I got rate limited by github by using its gh cli inside github actions. Well i didnt spam it but i was using more of it in a very less amount of time. Ran the action…
-
Certbot SSL Limits – letsencrypt (Rate limit)
>c=certificates 5c – Per domain Per Day 300c – In 3 Hrs Max 50c – Per Week Per domain When limitations are crossed we will be rate limited or even banned – We can be banned by our domain name / Email / IP Address / IP Address range Read More here :- https://letsencrypt.org/docs/rate-limits/ You…
-
AH shit here we go again !
I know i know…..its really annoying when we type something without sudo and it asks for sudo and now we have to retype the whole things with sudo (or go to the previous command [with up arrow] and then move back with arrow keys or home key or anything…) while its a good approach…there is…
-
Finding the user
To know who is using your system/server right now you can use or it will show you who is in and what they are doing, when did they login etc
-
Power to you.
You always dont need access, you just need access to somone who has access With that said. Most of the times you dont even need access to do somethin. You just need access to someone who has access. Lets say i am a normal user and i need to run a script in linux where…
-
WordPress and Nginx (OpenResty)
WordPress WordPress is a web content management system. It was originally created as a tool to publish blogs but has evolved to support publishing other web content, including more traditional websites, mailing lists and Internet forum, media galleries, membership sites, learning management systems and online stores. Ngins (Open Resty) OpenResty® is a full-fledged web platform that…